
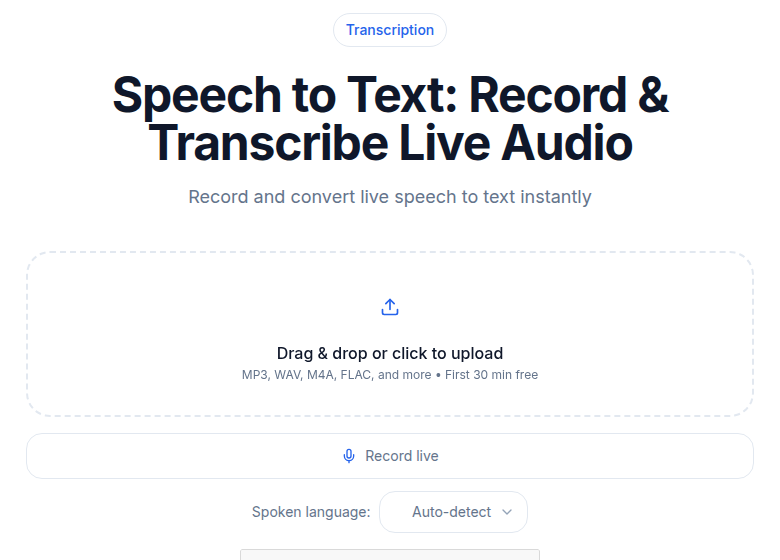
Transcription Tips for Better Accuracy: Quick Guide
Summarize this article with:
The Tips, Ranked
Transcription accuracy is mostly decided before you open any tool. Audio quality accounts for the large majority of your final result; the transcription engine accounts for the rest. That ordering is documented in real benchmark data: AssemblyAI's Universal-3 Pro reaches around 95 to 98 percent accuracy on clean studio recordings, but that same model drops to 70 to 85 percent on noisy audio. Switching tools rarely closes a gap that clean audio would close in seconds.
These ten tips are ordered by how much impact they actually have. A casual user who applies the first four will see more improvement than someone who spends an hour tweaking settings inside a transcription app.
For readers doing systematic audio pipeline work, the how to improve transcription accuracy guide covers the full technical workflow. For a quick scannable checklist format, transcription accuracy tips is the faster read. This post is the middle ground: ranked by impact, no jargon required.
Tip 1: Use a Dedicated Microphone
A $30 USB microphone sitting on your desk will outperform the built-in mic on any laptop. Built-in laptop and phone microphones pick up keyboard clicks, fan noise, room echo, and every ambient sound nearby. They are designed for convenience, not clarity.
For solo recordings, a USB cardioid condenser positioned 6 to 12 inches from your mouth is the entry point. For interviews or conversations, a clip-on lavalier for each speaker is the single most reliable way to ensure every voice is captured at consistent volume.
If you only do one thing on this list, this is it.
Tip 2: Record in a Quiet Environment
Background noise is the biggest accuracy killer after microphone quality. Air conditioning, traffic, open-plan office chatter, and restaurant ambient sound all compete with speech in ways that confuse speech recognition systems. Accuracy drops 30 to 40 percent in noisy environments compared to a quiet room, even with identical microphone setups.
Soft furnishings (carpet, curtains, upholstered furniture) absorb sound reflections. A walk-in closet or a car parked in a quiet spot provides better acoustics than most open offices. Close doors, turn off fans, silence notifications.
Tip 3: Eliminate Echo and Reverb
Hard floors, glass walls, and high ceilings reflect sound back into the microphone. The result is a blurry, reverberant recording that sounds fine to the ear but confuses speech recognition significantly.
Portable acoustic panels help, but cheap substitutes work too: a heavy blanket draped over a nearby chair, a bookcase full of books behind the speaker, thick curtains drawn. None of these need to be permanent. The goal is any soft surface that interrupts reflected sound before it reaches the microphone.
Tip 4: Set the Right Language, Explicitly
Always choose your language manually rather than relying on auto-detection. Auto-detection works well for common languages and clear speech, but it fails regularly on less common languages, mixed-language content, or recordings that start with silence.
Regional variants matter more than most people expect. "English (US)" and "English (UK)" produce measurably different results on the same accent. Set the closest match to your speaker, not just the broadest category.
Tip 5: Enable Speaker Diarization for Multi-Speaker Audio
For any recording with more than one voice, turn on speaker diarization. Without it, all speech collapses into a single undifferentiated block of text that is difficult to review, quote, or share.
Diarization accuracy depends heavily on the number of speakers and recording conditions. Two-speaker recordings (interviews, one-on-one calls) achieve 88 to 95 percent accuracy on clean audio; the error rate rises as speaker count increases or voices overlap. See speaker diarization explained for a deeper look at how the technology works and where it struggles.
The meeting transcription tool includes diarization by default for multi-speaker recordings.
Tip 6: Do a 30-Second Test Before Any Important Recording
Record thirty seconds, play it back, and listen critically. This one habit catches the problems that cause the most frustration: unexpected background noise you had stopped noticing, volume levels that are too low to transcribe reliably, and microphone positioning that picks up room reflections.
Catching a problem before a 45-minute interview is free. Catching it afterward means either re-recording or accepting lower accuracy.
Tip 7: Run Noise Reduction on Problem Recordings
If a recording already exists and has consistent background noise (HVAC hum, fan noise, a steady ambient tone), noise reduction can help before you transcribe it. Audacity is free and its noise reduction workflow is straightforward: select a section of audio containing only background noise, use that to build a noise profile, then apply gentle reduction to the full recording.
The key word is gentle. Aggressive noise reduction distorts speech and can make accuracy worse, not better. The Audacity manual recommends starting at 6 dB of reduction and increasing only if the noise is still distracting.
Tip 8: Normalize Audio Levels Before Transcribing
Recordings where volume fluctuates sharply (one speaker is loud, another is distant; a live recording where ambient sound spikes) are harder to transcribe accurately. Audio that clips or bottoms out often produces missing words at exactly the wrong moments.
Normalization takes under a minute in any audio editor (Audacity, GarageBand, Adobe Audition all include it) and removes one more variable that degrades results.
Tip 9: Review While Listening, Not Reading Alone
Reading a transcript in silence catches spelling errors. Listening while reading catches the errors that matter: words that look correct but are not what was said, missed words that left a sentence grammatically intact but semantically wrong, and proper nouns that were transcribed phonetically.
1.0 to 1.25x playback speed is the right range for a thorough pass. Faster than that and you start missing the errors that only the ear catches.
Tip 10: Track the Errors Your Setup Produces Consistently
For recurring recordings, a short error log pays compounding returns. If a specific person's name is always misspelled the same way, or a technical term is consistently misheard, you can fix both in under ten seconds per pass once you know the pattern. Tools that support custom vocabulary lists let you prevent these errors entirely.
My take: after years of using various transcription tools, the tips that consistently move the needle are tips 1, 2, and 10. A dedicated microphone and a quiet room get you to 90-plus percent on almost anything. A short list of your most frequent errors turns an already-good transcript into something you barely need to touch.
If you want to start without any setup at all, ConvertAudioToText's audio-to-text tool accepts uploads or URLs and runs without creating an account. It is a quick way to test what your current audio quality actually produces before investing in any hardware.
FAQ
What accuracy should I expect from AI transcription?
On clean studio audio with a single speaker, modern AI transcription reaches 95 to 98 percent accuracy (roughly 2 to 5 percent word error rate on benchmarks). On video-conference calls the range drops to 85 to 92 percent, and on noisy or heavily accented audio it can fall below 80 percent. The tips in this guide push results toward the higher end of whichever range applies to your recordings.
Does file format affect transcription accuracy?
Minimally on its own. WAV and FLAC are lossless and theoretically optimal, but a clean MP3 recorded at 128 kbps or above transcribes nearly as well in practice. What matters far more than format is recording quality: a noisy WAV will produce worse results than a clean 128 kbps MP3. Avoid very low-bitrate files (below 64 kbps), which degrade audio enough to hurt accuracy.
How long should a review pass take?
About 1 to 1.5 times the recording length. A 30-minute recording takes roughly 30 to 45 minutes to review thoroughly at 1.0 to 1.25x playback speed. That is still far less than the 2 to 3 hours a manual transcription of the same audio would require.
Can I improve accuracy for specialized vocabulary?
Yes, and it is one of the highest-leverage post-recording fixes. Some transcription tools let you supply a custom vocabulary or word list: adding 50 to 100 frequently used terms (product names, medical terms, industry jargon) can cut domain-specific errors significantly, per case studies from both AssemblyAI and Deepgram. If your tool does not support custom vocabulary, focus your review time on the sections of audio where those terms cluster.
Sources
- How accurate is speech-to-text in 2026? (AssemblyAI)
- Best audio file formats for speech-to-text (AssemblyAI)
- Noise Reduction, Audacity Manual
- Noise reduction and removal, Audacity Support
- Speaker Diarization FAQ 2026 (BrassTranscripts)
- Best speaker diarization tools 2026 (VexaScribe)
- How to improve transcription accuracy with custom vocabulary (VidNotes)
Try transcription free
Convert any audio or video to clean, unwatermarked text — speaker labels, timestamps, and AI summaries included. First 10 minutes free, no account.
Related Articles

How to Improve Transcription Accuracy: The Full Pipeline
A workflow-led guide to improving transcription accuracy before you hit upload: room setup, mic placement, capture settings, speaker prep, and model configuration.
Fix Poor Transcription Accuracy: Triage Checklist (2026)
Your transcript is bad and you need to fix it now. This triage guide maps every common symptom to its cause and the fastest fix, in order of likelihood.