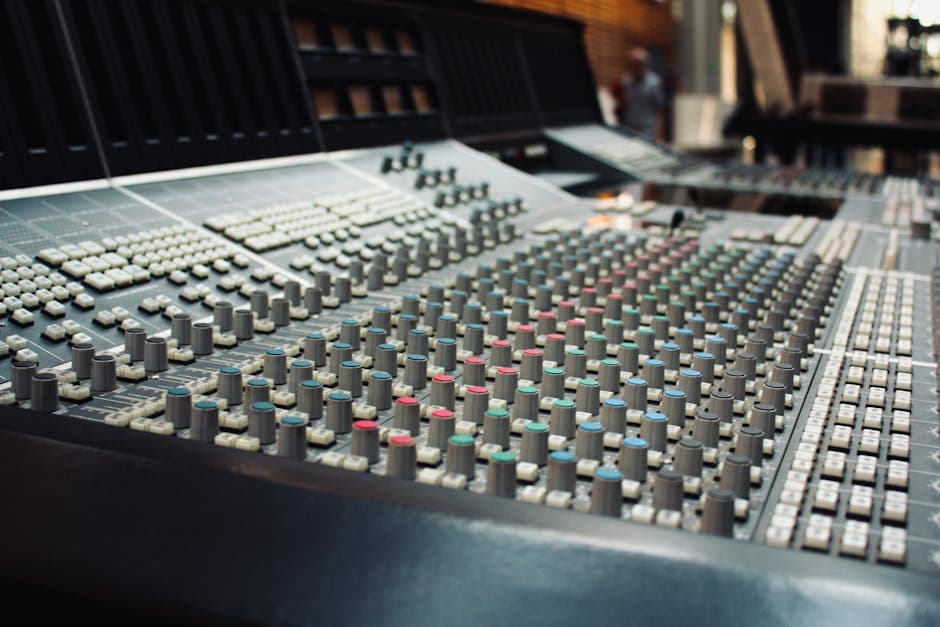
How to Improve Transcription Accuracy: The Full Pipeline
Summarize this article with:
The 5 Highest-Impact Moves
The accuracy you get from any transcription model is mostly determined before you hit upload. Whisper Large-v3 scores around 2.7% word error rate (WER) on clean studio audio and climbs to 8% to 12% on real-world recordings. Deepgram Nova-3 publishes 5.26% batch WER on production audio. That gap is not the model's fault: it is room noise, microphone distance, codec settings, and un-hinted jargon, all of which you control.
 The pipeline ends at the uploader: clean input in, clean transcript out
The five moves that shift accuracy the most, in order:
- A dedicated microphone, close to the speaker. No other single change moves the needle as far.
- A quiet, low-reverb room. Reverb can cut accuracy by 20% to 30% in highly reflective spaces, independent of background noise level.
- Per-speaker multi-track capture for remote calls. One shared track with two speakers is a diarization problem from the start.
- The right model matched to your language. A US-English-tuned model on French audio loses double-digit accuracy points.
- Keyterm hints and correct speaker count fed to the model before transcription starts. Deepgram's keyterm prompting can lift keyword recall rate up to 90%; most platforms surface this setting but few users touch it.
Everything below is the ordered pipeline to get all five right, start to finish.
Stage 1: Lock Down the Room Before You Record
Most transcription errors trace back to the recording environment, not the model. The model receives whatever the microphone captured: fixing the room is faster than any post-processing.
The two room problems are noise and reverb, and they compound each other. A hard-surfaced, echo-prone space amplifies background noise because reflections bounce the noise around. Solve both together:
- Eliminate continuous noise sources during the recording window: HVAC systems, desk fans, open windows facing traffic.
- Move away from large hard surfaces (bare walls, windows). Soft furnishings (couch, rug, curtains, a closet full of clothes) absorb reflections without acoustic foam.
- Close every door between the recording space and external noise. The gap under a door passes more sound than the door itself; a rolled towel at the base helps.
If your room has unavoidable noise, Krisp (real-time, removes noise before it enters the recording) and Adobe Podcast Enhance Speech (free, browser-based, processes after the fact) are both proven tools for modest cleanup. They reduce noise the mic captured; they cannot recover words the noise erased.
For deep dives on room setup and noise handling, see dealing with background noise in transcription and recording environment best practices.
Stage 2: Place the Microphone Correctly
A good microphone badly placed performs worse than a mediocre microphone placed well. The core principle: every time you double the distance between speaker and microphone, effective signal strength drops while room noise stays constant. Quality at 24 inches is measurably worse than at 6 inches on the same hardware.
Practical placement rules:
- Aim for 4 to 8 inches from the speaker's mouth for a directional (cardioid) microphone.
- Keep the mic off-axis by about 15 degrees to avoid plosive pops on "p" and "b" sounds. A $5 pop filter achieves the same thing if on-axis placement is required.
- For conference rooms: one shared condenser mic at the table center is the worst possible setup. A lavalier per speaker, even a $10 clip-on, beats a $200 conference mic that is 3 feet from half the participants.
For specific hardware recommendations at different budgets and the USB vs XLR decision, see microphone tips for clear transcription.
Stage 3: Configure Capture Settings Before Pressing Record
Capture settings are a one-time decision that determines the ceiling for every downstream step.
Format: Record in WAV or FLAC (lossless) for your master file whenever possible. A high-bitrate MP3 (192 kbps or above) transcribes nearly as well as lossless for speech, but a low-bitrate file (under 96 kbps) strips the high-frequency consonant cues the model relies on. The practical rule: never compress below 128 kbps for audio you intend to transcribe.
The format hierarchy matters less than the underlying recording quality. A clean, close-mic WAV and a clean, close-mic 192 kbps MP3 produce very similar transcripts. A noisy, distant WAV beats neither. See WAV vs MP3 for transcription for the full tradeoff.
Sample rate and bit depth: 16-bit at 16 kHz is the baseline most STT models were trained on. Recording at 44.1 kHz or 48 kHz is fine (the model downsamples), but recording at lower than 16 kHz loses information you cannot recover.
For remote calls (Zoom, Google Meet, Teams): Record locally on each end using Riverside or Zencastr rather than the platform's built-in recorder. Both capture separate per-speaker WAV tracks, which gives you cleaner diarization and lets you process each speaker independently before transcription. Use headphones on all sides to prevent bleed from the other participant's audio.
Stage 4: Plan for Multiple Speakers
Diarization (separating "who said what") fails in predictable ways that you can prevent before the recording starts.
The biggest prevention step is per-speaker isolation. Overlapping speech (two people talking at the same time) creates a single audio segment the model must assign to one speaker or the other. It usually gets it wrong. Instruct participants to hold the "mute while listening" norm, especially on larger calls.
When you upload, give the model the correct speaker count. Most platforms offer a speaker count field. Auto-detection is error-prone: provide the actual number of people who speak, not the number present. A 10-person call where 3 people did all the talking is a 3-speaker file.
For how diarization works under the hood and what accuracy to expect at different speaker counts, see speaker diarization explained.
Stage 5: Prepare the Model Before You Upload
The gap between 92% and 97% accuracy on jargon-heavy content often comes down to two settings almost no one uses: keyterm hints and language selection.
Keyterm hints. If your audio uses company names, product names, medical or legal terms, or acronyms the model is likely to mishear, provide them as a keyword or keyterm list before submitting. Deepgram's keyterm prompting supports up to 100 terms (500 tokens total). Their documentation shows confidence score gains from 0.71 to 0.97 on domain-specific words with keyterms enabled. AssemblyAI offers a similar feature (keyterms_prompt) supporting up to 1,000 words. In both cases, a short focused list (20 to 50 terms) outperforms dumping every word from your glossary.
My take: I have seen a list of 15 product names nearly eliminate a recurring class of errors that would have taken 20 minutes to hand-correct. The feature takes 2 minutes to set up and most users never open it.
Language and model selection. Match the model to the actual spoken language. A general-purpose English model loses significant accuracy on non-English audio. Whisper Large-v3 provides broader multilingual coverage across 99 languages. Deepgram Nova-3 has dedicated multilingual support with documented WER improvements across languages. If your content switches between languages, use a model that explicitly handles code-switching.
For guidance on which STT API fits your use case, see best speech-to-text APIs 2026 or speech-to-text API pricing 2026 if cost is the deciding factor.
The Pre-Upload Checklist
Run through this before submitting any file you care about:
- Room was quiet during recording (HVAC off, doors closed)
- Mic was within 8 inches of the speaker
- File is WAV, FLAC, or MP3 at 128 kbps or above
- Remote call used per-speaker local recording (or headphones to prevent bleed)
- Speaker count is set to the actual number of speaking participants
- Keyterm list includes any product names, proper nouns, or domain terms the model might mishear
- Language is set explicitly (not left on auto-detect if you know the language)
Each item here removes a preventable source of errors. If you run through this list and still get a poor transcript, the problem is in the source audio itself: see how to transcribe with poor audio quality for recovery options. If you want a quick-reference version rather than the full pipeline, transcription accuracy tips covers the condensed list.
For straightforward transcription without a complicated setup, ConvertAudioToText processes uploads directly with language and speaker controls on the submission form.
Common Questions
Does microphone price matter more than microphone placement?
Placement matters more at every price point. A $50 USB microphone at 6 inches from the speaker outperforms a $200 condenser microphone at 24 inches, because the physics of distance and signal-to-noise ratio dominates over hardware quality in typical voice-recording environments.
How much does reverb actually hurt transcription accuracy?
Research on distant-microphone speech recognition shows reverb can reduce accuracy by 20% to 30% in highly reflective rooms compared to treated spaces, even when there is no other background noise. Phoneme boundaries blur as reflections smear sounds across time, and STT models trained on clean audio have not seen that distortion pattern. A room with soft furnishings (couch, rug, curtains) reduces reverb substantially without acoustic panels.
Should I always use lossless audio (WAV/FLAC) for transcription?
For archiving your master recording, yes. For transcription input, a high-bitrate MP3 (192 kbps or above) produces transcripts nearly indistinguishable from WAV on the same speech. The meaningful threshold is below 128 kbps, where lossy encoding strips consonant cues the model uses for word boundaries.
What is keyterm or vocabulary boosting and when should I use it?
Keyterm boosting lets you pass a short list of words or phrases to the transcription model before processing. The model prioritizes those terms when it encounters ambiguous audio. Use it for any recording with domain-specific vocabulary: product names, medical or legal terms, proper nouns, or acronyms. Deepgram supports up to 100 keyterms per request. AssemblyAI supports up to 1,000 words. The gains are most visible on terms with unusual spelling or pronunciation that would otherwise be substituted with a common-word approximation.
Why does providing the speaker count improve diarization accuracy?
Most diarization systems use clustering to group audio segments by speaker voice signature. Auto-detecting the number of clusters is an extra inference step that introduces errors, especially when speakers have similar voices or when overlap is present. Providing the exact count removes that uncertainty from the pipeline. Set it to the number of people who actually speak during the recording, not the number in the meeting.
Sources
- Deepgram Keyterm Prompting documentation
- Deepgram Nova-3 announcement and WER figures
- Deepgram Nova-3 multilingual WER improvements
- AssemblyAI: best audio file formats for speech-to-text
- AssemblyAI streaming keyterms prompting
- Reverb and noise effects on speech recognition models (MDPI Applied Sciences, 2024)
- Adobe Podcast Enhance Speech
- Krisp AI noise cancellation
- Riverside multitrack podcast recording
- OpenAI Whisper Large-v3 benchmarks (Northflank, 2026)
Try transcription free
Convert any audio or video to clean, unwatermarked text — speaker labels, timestamps, and AI summaries included. First 30 minutes free, no account.
Related Articles

Transcription Tips for Better Accuracy: Quick Guide
Ten ranked tips that measurably improve transcription accuracy, from microphone choice to post-review workflow. Verified audio and AI best practices for 2026.
Fix Poor Transcription Accuracy: Triage Checklist (2026)
Your transcript is bad and you need to fix it now. This triage guide maps every common symptom to its cause and the fastest fix, in order of likelihood.