
Convert Voice Memos to Text: Every Path That Works
Summarize this article with:
The fastest way to convert a voice memo to text depends on your device. On iPhone running iOS 18 or later, open the recording, tap the three-dot menu, and choose View Transcript for an instant on-device result. On Google Pixel, the Recorder app transcribes in real time and lets you export as a .txt file or send to Google Docs. On any device, uploading the audio file to a dedicated transcription tool gives you more export options and better accuracy for long or noisy recordings.
The quickest path: open your voice memo, tap the three-dot menu, and look for "View Transcript." On iPhone running iOS 18 or later, that built-in step takes about five seconds. On Android, the answer depends on which phone you have. This guide covers every platform, the real limits of native options, and when it makes sense to upload to a dedicated tool instead.
What "Converting" a Voice Memo Actually Means
A voice memo is just an audio file. Converting it to text means running it through a speech recognition engine that produces a readable transcript. That engine can be on your device (Apple's on-device model, Google Recorder's offline AI) or in the cloud (Deepgram, AssemblyAI, or another provider powering a transcription service). On-device is faster to start but limited in languages and export formats. Cloud-based tools handle longer files, speaker labels, and structured output.
How to Convert iPhone Voice Memos to Text
Option 1: Use the Built-In iOS Transcript (iOS 18 and Later, iPhone 12 or Later)
Apple added on-device Voice Memos transcription in iOS 18. No upload required; it runs locally on the device.
- Open the Voice Memos app.
- Tap the recording you want to read.
- Tap the three-dot menu (the ellipsis icon) next to the recording name.
- Tap "View Transcript."
- To copy the text, tap "Copy Transcript" at the top of the transcript view.
The transcript is generated on-device and works offline. Supported languages as of iOS 26 include English (all regional variants), Spanish, Portuguese, Italian, French, German, Japanese, Korean, Simplified Chinese, and Traditional Chinese. Per Apple's support documentation, the feature requires iPhone 12 or later and may not be available in all countries.
The main limit: iOS does not offer a one-tap export to a text file. You copy the transcript and paste it into Notes, Mail, or any other app. For a single short memo, that is fine. For a batch of ten recordings, it gets tedious fast.
Option 2: Export the Audio File and Upload It to a Transcription Tool
This gives you more export formats (SRT, TXT, DOCX-compatible), speaker labels, and timestamp control.
- Open the Voice Memos app and tap the recording.
- Tap the three-dot menu and choose "Share."
- Tap "Save to Files" and pick iCloud Drive or a local folder.
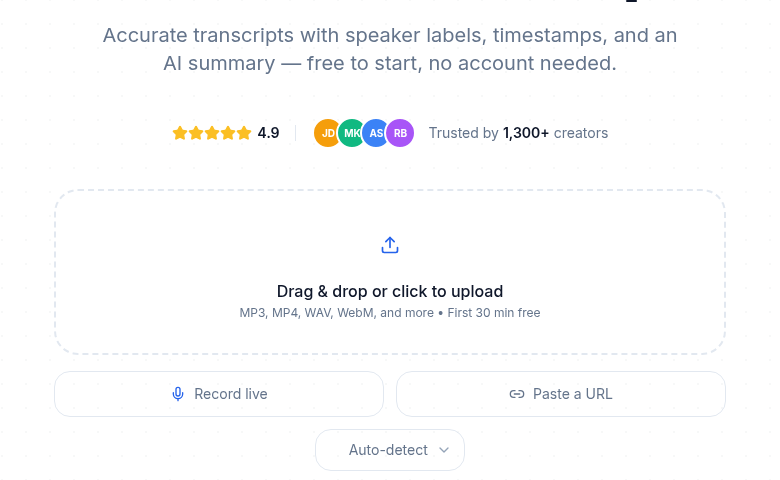
- Open Safari and go to Audio to Text.
- Tap "Upload," select the .m4a file from your Files app, choose the language, and tap Transcribe.
- Download the transcript in your preferred format.
iPhone Voice Memos are saved in M4A format, which is supported by all major transcription tools without any conversion step.
Option 3: AirDrop to Mac and Upload from Desktop
If you prefer a larger screen for reviewing and editing:
- Open Voice Memos on your iPhone.
- Select the recording, tap Share, and AirDrop it to your Mac.
- Go to Audio to Text in your browser.
- Drag and drop the .m4a file into the upload area.
- Transcribe, review, and export.
How to Convert Android Voice Recordings to Text
Android has two main paths, and they vary significantly by device manufacturer.
Google Pixel: Recorder App with Real-Time Transcription
Google Recorder on Pixel phones transcribes in real time, offline, on-device. The transcript updates as you speak and persists after the recording ends. To access and export it:
- Open the Recorder app and tap the recording.
- Tap the Transcription tab (if not already shown).
- Tap the Share icon.
- Choose one of the export options:
- "Transcript (.txt)" to save a plain text file
- "Share transcript to Google Docs" to send directly to your Drive
- "Share transcript to NotebookLM" to send to a notebook
This covers basic use cases well. There is no native SRT, DOCX, or speaker-labeled export. For those, export the audio file and upload it separately.
Note: Google Recorder's transcription is exclusive to Pixel devices. On other Android phones running Google Recorder, on-device transcription is not available.
Samsung Galaxy: Galaxy AI Transcript Assist
Samsung Galaxy devices running One UI 6.1 or later (Android 14 minimum) have a "Transcript Assist" feature powered by Galaxy AI. It is not real-time; the app processes the recording after you stop.
- Open Samsung Voice Recorder and select your recording.
- Tap the Transcribe button (available after recording is done).
- To export: tap the three-dot menu and choose "Share."
- Select "Voice file" to share the audio, or "Text file" to share the transcript.
- You can also tap "Add to Samsung Notes" to move it to the Notes app.
Transcript Assist supports a range of languages including English, Spanish, French, German, Korean, Japanese, and others. Per Samsung's support page, certain languages require a download.
Other Android Devices
For phones that do not have Pixel Recorder or Samsung Transcript Assist:
- Open your recording app (often Google Recorder or a manufacturer default app).
- Tap Share and save the audio file to Google Drive or local storage.
- Open Chrome and go to Audio to Text.
- Upload the file (M4A and OGG are both accepted) and transcribe.
How to Convert Desktop Voice Recordings to Text
Desktop recordings from Windows Sound Recorder, macOS Voice Memos, Audacity, or any DAW follow a straightforward upload process.
Where to find your files:
| App | Default File Location | Format |
|---|---|---|
| Windows Sound Recorder | C:\Users\[username]\Documents\Sound recordings (or OneDrive\Documents\Sound recordings) | .m4a or .wav (Windows 11 supports both as of 2026) |
| macOS Voice Memos | Accessible via the Voice Memos app; synced to iCloud | .m4a |
| Audacity | Wherever you exported the project | .mp3, .wav, .flac (user choice) |
| GarageBand | ~/Music/GarageBand/ | .m4a |
Once you have located the file:
- Go to Audio to Text.
- Drag the file into the upload area, or click to browse.
- Select the spoken language.
- Start transcription and wait. A 5-minute memo typically processes in under 30 seconds.
- Review, edit, and export in your preferred format.
Native vs. Upload: A Quick Comparison
| Platform | Native Transcription | Offline | Languages | Export Options |
|---|---|---|---|---|
| iPhone (iOS 18+, iPhone 12+) | Yes | Yes | 10 languages | Copy and paste only |
| Google Pixel (Recorder app) | Yes | Yes | English (primary) | .txt, Google Docs, NotebookLM |
| Samsung Galaxy (One UI 6.1+) | Yes | No (cloud-processed) | 10+ languages | Text file, Samsung Notes |
| Windows / macOS | No native | N/A | N/A | Upload required |
| Third-party upload tool | Yes | No | 99+ languages | .txt, .srt, .vtt, Word-compatible |
My take: the native options on iPhone and Pixel are genuinely good for quick reads and short memos. But they break down the moment you need speaker labels, SRT exports for video captions, or bulk processing. A third-party upload takes one extra step and handles all of that without friction.
Tips for Better Voice Memo Transcription
Hold the phone 6 to 12 inches from your mouth. Arm's-length recording picks up significantly more ambient noise and reduces accuracy. Research on speech recognition in 2025 found that noise above 65 dB ambient can drop accuracy from around 96% in quiet conditions to below 83%. Thirty seconds of better positioning is worth it.
Record in a quiet space. A running dishwasher, a cafe, or a moving car introduces background noise that no transcription model handles perfectly. Step into a quiet room when the memo matters.
Speak in complete sentences. Stream-of-consciousness voice memos transcribe accurately but produce text that needs heavy editing. One deliberate sentence per thought saves you cleanup time later.
Name files before batch transcribing. "Recording 47" tells you nothing two weeks later. Rename files with a date and topic before uploading a batch.
Practical Uses for Transcribed Voice Memos
Converting a voice memo to text unlocks uses that audio alone cannot support. A few worth mentioning:
- Field notes and research logs. Researchers recording observations verbally can build a searchable written archive without retyping. See how to transcribe interview recordings for a deeper workflow.
- Meeting follow-ups. A 30-second voice recap after a call, transcribed, becomes a clean action list you can paste into Slack or your task manager. The meeting transcription tool handles longer recorded calls with speaker labels.
- Knowledge management. Transcribed memos pipe naturally into Obsidian, Notion, or Roam. The workflow is covered in detail at transcription and Obsidian/Notion.
- Personal journaling. Spoken journals transcribed to text are searchable and easier to reflect on over time. Voice is faster to produce; text is faster to search.
Batch Conversion for Multiple Voice Memos
If you have accumulated dozens of memos and want to transcribe them all at once:
- Transfer all files to your computer via AirDrop, iCloud sync, or USB.
- Rename them with descriptive titles before uploading ("2026-06-30-client-call.m4a" is far more useful than "recording.m4a").
- Upload and transcribe them sequentially, or use a Pro plan that allows batch processing of multiple files in a single session.
If you just need a clean transcript without setting up an account, ConvertAudioToText lets you upload and transcribe immediately, with no sign-up required for short files.
For context on how pricing compares across tools built for heavier batch use, see the transcription pricing comparison.
Frequently Asked Questions
What format are iPhone Voice Memos saved in?
iPhone Voice Memos are saved in M4A format (MPEG-4 Audio). This is supported by virtually all transcription tools, so you do not need to convert the file format before uploading. On devices using iOS 26 with Spatial Audio microphones, you may see a .qta container, but standard M4A export remains available via the Share menu.
Can I transcribe a voice memo without uploading it anywhere?
Yes, if your device supports on-device transcription. iPhone 12 or later on iOS 18+ generates transcripts locally without sending audio to a server. Google Pixel's Recorder app also works offline. If neither applies, processing requires a transcription service. Check the privacy policy of any service you use to understand how your audio is stored and for how long.
How accurate is voice memo transcription?
In quiet conditions with the phone held close, modern AI speech recognition achieves around 96 to 97 percent word-level accuracy for clear English speech. Background noise drops that meaningfully: ambient noise above 65 dB can push accuracy below 83 percent in tested conditions. Recording quality is a bigger factor than which tool you choose.
Can I transcribe voice memos recorded in languages other than English?
Yes. iOS native transcription supports 10 languages including Spanish, French, German, Japanese, Korean, and Chinese variants. Samsung Transcript Assist supports a similar range. Third-party tools that use cloud models like Deepgram or AssemblyAI typically support dozens of languages. Select the spoken language before transcribing rather than relying on auto-detection alone for best results.
How long does it take to transcribe a voice memo?
On-device (iPhone or Pixel) the transcript often appears within seconds of the recording ending. For uploaded files, a 5-minute memo typically takes 15 to 30 seconds on a cloud transcription service. A 30-minute recording usually completes in 1 to 2 minutes. Processing time scales roughly with audio length.
Sources
- Apple Support, "View a Voice Memos transcription on iPhone": https://support.apple.com/guide/iphone/view-a-transcription-iph00953a982/ios
- Apple Support, "Export a Voice Memos recording to Files on iPhone": https://support.apple.com/guide/iphone/export-a-recording-to-files-iph831c37815/ios
- Google Pixel Help, "Save and share recordings and transcripts": https://support.google.com/pixelphone/answer/16267696
- Samsung Support, "Use Voice Recorder with Galaxy AI": https://www.samsung.com/us/support/answer/ANS10000942/
- Microsoft Learn, "Sound Recorder release notes": https://learn.microsoft.com/en-us/windows-insider/release-notes/apps/sound-recorder
- Tom's Guide, "iOS 18 finally adds transcription to Voice Memos": https://www.tomsguide.com/phones/iphones/ios-18-finally-adds-transcription-to-voice-memos-heres-how-to-use-it
Try transcription free
Convert any audio or video to clean, unwatermarked text — speaker labels, timestamps, and AI summaries included. First 10 minutes free, no account.
Related Articles
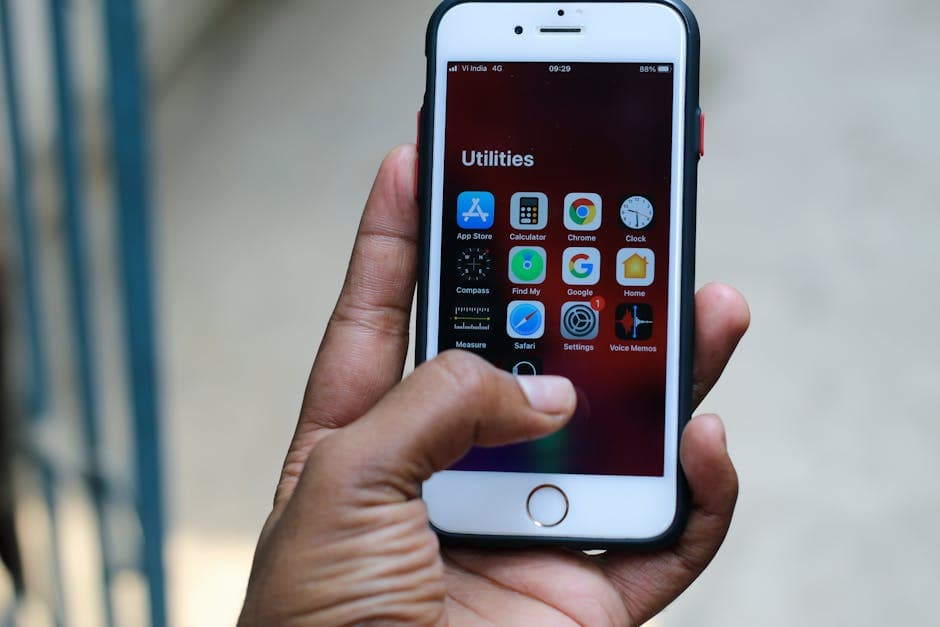
Best Transcription Mobile Apps in 2026 (iOS and Android)
Verified roundup of the best iOS and Android transcription apps in 2026: free tiers, real-time vs. batch, on-device vs. cloud, and the no-install browser alternative.
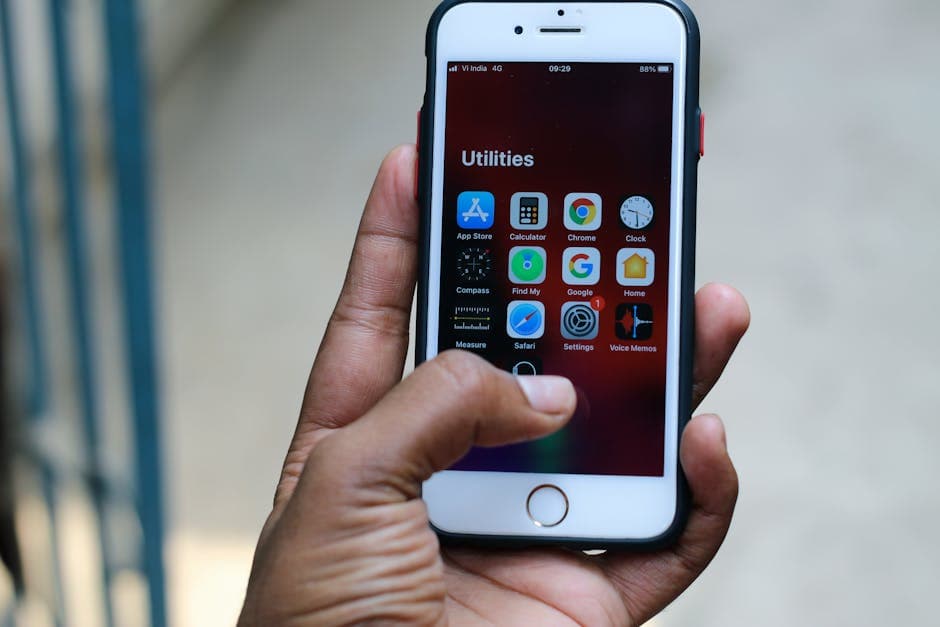
How to Record and Transcribe Audio on iPhone in 2026
Step-by-step guide to recording with iPhone Voice Memos, getting clean transcripts, iOS 26 built-in features, call recording, and the best apps for professional results.