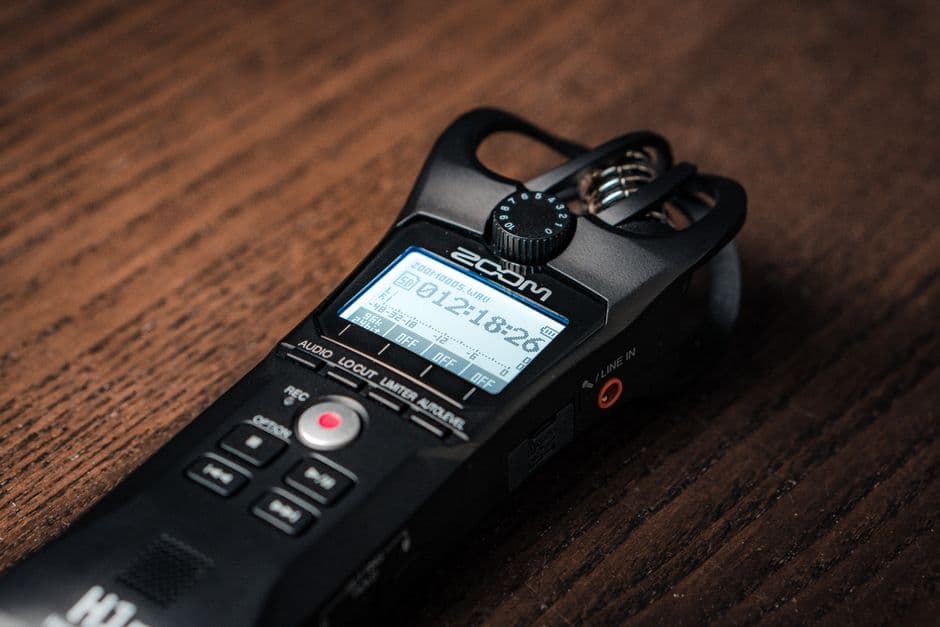
How to Transcribe Voice Recorder Recordings (Any Device)
Summarize this article with:
Pull the audio file off any voice recorder (USB, app export, or share sheet), then upload it to a device-agnostic transcription tool. The source device stops mattering the moment you have the file. Legacy recorders that write WMA need a one-step conversion to MP3 first; everything else uploads as-is. Speaker diarization and multi-format export (TXT, DOCX, SRT) are where device-native apps tend to fall short.
Getting text out of a voice recorder is simpler than the hardware companies want you to think. The audio is just a file, and once it is off the device you can run it through any transcription service you choose, in any language, without touching the recorder's own app or paying the recorder's own subscription.
This guide covers every recorder type, the file formats they produce, how to get those files onto your computer, and what to do with recordings that use older formats like WMA. It also explains where device-native subscriptions make sense and where they do not.
What Your Recorder Actually Produces
Before moving files, it helps to know what you are moving.
| Recorder type | Typical format | Transfer method |
|---|---|---|
| Anker SoundCore Work | MP3 | USB (appears as removable drive) |
| Plaud Note / NotePin | MP3 | Bluetooth app export |
| Sony ICD series | MP3, WAV, WMA | USB direct (built-in connector) |
| Olympus dictaphones (older) | WMA, MP3 | USB |
| Zoom H-series field recorders | WAV, MP3 | SD card or USB-C |
| iPhone Voice Memos | M4A | Share sheet, AirDrop, save to Files |
| Android Recorder app | M4A, OGG | Share sheet, USB |
Legacy recorders are the one exception that needs an extra step. Older Olympus and Sony models often default to WMA (Windows Media Audio), a format that many transcription services do not accept directly. The fix is quick: run the file through a free browser-based converter such as CloudConvert or Zamzar to get an MP3 or WAV, then proceed as normal.
Step 1: Get the File Off the Device
USB cable is the most reliable method for dedicated recorders. Plug the recorder into your computer and it appears as a removable disk, no software required. Open the drive, find the voice recordings folder (often labeled REC_FILE, RECORD, or similar), and copy the files to your desktop. This works on Anker SoundCore Work, Sony ICD models, Olympus models, and Zoom H-series recorders. You do not need the manufacturer's companion app.
For phone voice memos, the file is already on your device:
- iPhone: Open Voice Memos, long-press the recording, tap Share, then choose Save to Files or AirDrop. The file lands as M4A.
- Android: Tap the recording in your Recorder app, tap the share icon, and send it to your cloud drive or via email. The format varies by manufacturer but is usually M4A or OGG.
If you did set up the companion app for your dedicated recorder, check whether it has an export or download option. Most manufacturer apps will hand you the raw audio file even when the in-app transcription is paywalled.
Step 2: Transcribe the File
With the audio file on your computer, upload it to a transcription service. The recorder source is irrelevant at this point: a WAV from a Zoom H5, an M4A from your iPhone, and an MP3 from an Anker SoundCore Work all go through the same upload step.
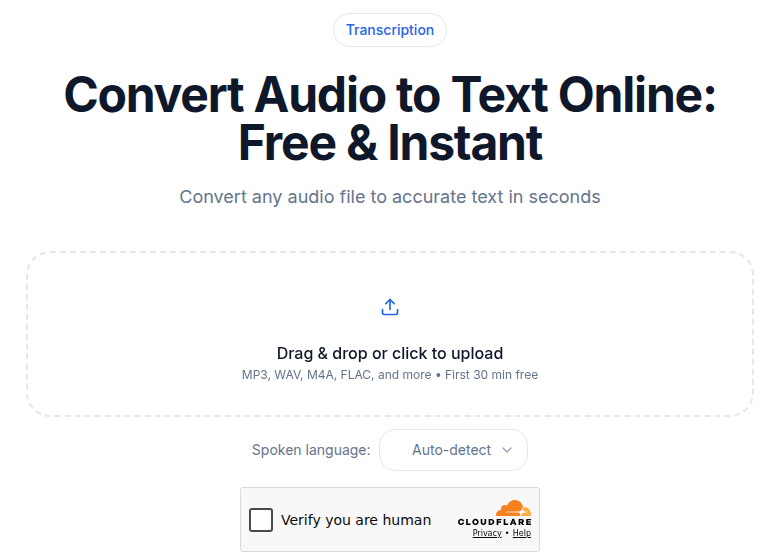
Pick the language before you start if the recording is not in English, or let auto-detection handle it. For most services, the transcript is ready in under a few minutes for files up to an hour long.
My take: for recordings that already exist as files, there is no reason to pay a separate subscription attached to each physical device. The recorder captures audio. The transcription lives in software. Separating those two jobs makes both easier to manage.
For context on what the underlying transcription engines cost, the best speech-to-text APIs in 2026 compares providers on price and accuracy.
Handling a Pile of Files
If you record regularly, you will occasionally end up with a week's worth of recordings to process at once. A few options exist:
Upload files one at a time. Most consumer transcription services, including ConvertAudioToText, accept files individually with no per-file length cap on paid plans. A three-hour lecture works in a single upload even if a single-folder batch import is not available.
Batch-capable tools. TurboScribe (verified as of their current plans) lets you upload up to 50 files at once on its paid tiers. AssemblyAI's API supports batch submission at scale for higher volumes. If you regularly process dozens of files in one sitting, those tools are worth checking.
Consistent naming before you upload. Whether you process one at a time or in batches, renaming files before transcription (by date, project, speaker) saves significant sorting time afterward.
For an approach to organizing what you get back, the guide on building a searchable audio archive with transcripts covers how to keep transcripts findable over time.
Languages: What "100+" Actually Means
Pocket recorders advertise big language counts. That number reflects what the device can record, not how well the transcription engine handles each language.
A serious transcription service supports 99+ languages across its engines, including major European, Asian, Middle Eastern, and African languages. What matters is whether the underlying model was trained on enough data in your language for usable accuracy. Spanish, French, German, Hindi, Arabic, Mandarin, and Japanese all transcribe well on current AI engines. Smaller languages with limited training data will vary.
The advantage of decoupling from the recorder is that you are not stuck with whichever engine the manufacturer chose. If a better model ships tomorrow, you switch tools without buying new hardware. For more on how these engines compare, speech-to-text API pricing in 2026 covers the main providers and their accuracy claims.
Speaker Labels for Interviews and Meetings
A flat wall of text is hard to navigate when more than one person is talking. Speaker diarization detects who spoke when and segments the transcript accordingly, labeling the output as Speaker 1, Speaker 2, and so on, which you can rename to real names.
For panel interviews, board calls, and podcast recordings, speaker labels turn a raw transcript into something you can scan and quote quickly. For one-on-one interviews, diarization cleanly separates your questions from the subject's answers.
Most device-native transcription apps do not offer diarization, or they gate it behind higher subscription tiers. If your recorder's app hands you an undifferentiated block of text from a multi-speaker recording, running the same audio file through a tool with automatic diarization is an immediate improvement. For a detailed look at how diarization works under the hood, speaker diarization explained covers the key concepts.
Export Formats Worth Caring About
The transcript is only as useful as the format you can get it out in:
- TXT: Clean plain text, pasteable anywhere.
- DOCX: Editable in Word, useful for formatting an interview or sharing with a team.
- PDF: A fixed, shareable record of a meeting or deposition.
- SRT and VTT: Subtitle files for any recording that will end up as video content, captioned presentations, or talks.
SRT and VTT exports are something most recorder companion apps skip entirely. If you record lectures or interviews that end up as video, dropping an SRT directly onto the footage saves significant manual work.
Accuracy Tips That Cost Nothing
No transcription engine can recover words that were not clearly captured. Recording quality matters more than which tool you use:
- Mic placement. Keep the recorder within a meter or two of the speaker and point it toward them. A recorder in a jacket pocket picks up fabric noise; set on the table or clipped to a lapel, it captures clean speech.
- Reduce background noise. Air conditioning, cafe chatter, and traffic all reduce accuracy. Move away from the noise source when you can.
- Introductions help diarization. For multi-speaker recordings, having each person say their name in the first 30 seconds gives the diarization engine a reference point and makes renaming speakers trivial.
- Use standard quality mode. If your recorder offers a low-bitrate voice-note mode to save storage space, use the standard mode for anything you plan to transcribe.
Privacy Before You Upload
Cloud transcription means your audio passes through a service's servers. Before sending sensitive recordings, check how long files are retained and whether you can delete them after the transcript is generated. For confidential interviews, legal recordings, or medical notes, read the retention policy before uploading. A trustworthy service states its terms clearly and lets you delete the source file.
On Device-Native Subscriptions
The SoundCore Work gives you 300 free transcription minutes per month and charges $15.99/month (or $99.99/year) for 1,200 minutes, per Soundcore's current pricing page. Plaud offers the same 300-minute free tier and charges $17.99/month or $8.33/month on annual billing for 1,200 minutes, per Plaud's current pricing page. If either of those is your only recorder and you stay within the minute cap, the built-in subscription is the path of least resistance.
The math shifts when you own more than one recording source. If you also transcribe iPhone Voice Memos, Zoom call recordings, and files from a Zoom H-series field recorder, you are looking at paying per device rather than per capability. A single device-agnostic tool covers all of those sources without requiring separate subscriptions for each.
If you want to test the file-upload workflow before committing to a subscription, ConvertAudioToText lets you run a recording (up to 10 minutes) through the tool without creating an account first, with speaker labels and a summary you can copy; file downloads in TXT are free on the free tier; DOCX, SRT, and VTT are available on a paid plan. The free tier is 10 premium minutes after signup, given once, then keeps transcribing free on the standard engine at up to 3 files a day of 10 minutes each, with the free-finish button completing up to 2 more hours of a long file free; Pro removes the cap. It accepts single-file uploads, so if your workflow involves processing a full folder of files in one click, a tool with explicit batch-import like TurboScribe may suit you better.
For a broader look at which transcription tools fit different workflows, no-signup transcription tools covers what is available without an account requirement.
FAQ
What audio formats do voice recorders typically produce?
Most modern recorders write MP3, WAV, or M4A. Older Olympus and Sony dictaphones often write WMA (Windows Media Audio), which most transcription services handle after a free online conversion to MP3 or WAV. Zoom field recorders use WAV and MP3. iPhone Voice Memos produces M4A (and .qta on iOS 26 for Spatial Audio recordings).
How do I get recordings off a dedicated voice recorder?
Plug the recorder into your computer via USB and it appears as a removable drive. Open it, find the recordings folder, and copy the files. Sony ICD and Olympus models both support this; Anker SoundCore Work and Zoom H-series devices do the same. No software required. If you set up the companion app, you can also use its export option to pull the raw audio file.
Do I need a meeting bot to transcribe a recorded call?
No. If you recorded a Zoom, Teams, or Google Meet session, the exported file is usually an MP4 or M4A. Upload that file exactly as you would any other recording. A meeting bot is only needed if you want live, in-meeting transcription. For recordings that already exist, file upload works fine and requires no bot installation.
Is it worth paying for a device-native transcription subscription?
It depends on your recorder count. The SoundCore Work bundles 300 free minutes per month and charges $15.99/month (or $99.99/year) for 1,200 minutes. Plaud offers the same 300 free minutes, with a Pro plan at $17.99/month or roughly $8.33/month on annual billing. If you own more than one device or also transcribe phone memos and recorded calls, a single device-agnostic service covers everything without stacking subscriptions.
Sources
- Soundcore Work product page and subscription pricing: https://www.soundcore.com/products/d3200-soundcore-work-ai-voice-recorder
- Plaud AI subscription plan pricing: https://www.plaud.ai/pages/plaud-ai-plan-pricing
- Sony ICD recorder format and USB transfer documentation: https://helpguide.sony.net/icd/p47/v1/en1/contents/TP0001155102.html
- Apple Support: Share a recording in Voice Memos on iPhone: https://support.apple.com/guide/iphone/share-a-recording-iph3d6dc359/ios
- Apple Support: Export a Voice Memos recording to Files: https://support.apple.com/guide/iphone/export-a-recording-to-files-iph831c37815/ios
- Olympus dictaphone USB transfer and file formats: https://www.techwalla.com/articles/how-to-download-files-from-an-olympus-digital-voice-recorder
- CloudConvert WMA converter: https://cloudconvert.com/wma-to-mp3
- TurboScribe batch transcription: https://recapmycalls.com/batch-transcribe-audio-files/
Try transcription free
Convert any audio or video to clean, unwatermarked text — speaker labels, timestamps, and AI summaries included. First 30 minutes free, no account.
Related Articles

The Future of AI Transcription: What to Watch in 2026
A grounded forecast of AI transcription in 2026: on-device shifts, multilingual gains, pricing pressure, diarization progress, and agentic workflows, anchored in verified 2026 trends.

How AI Transcription Works: The Product Pipeline Explained (2026)
From upload to exported transcript: a clear walkthrough of every stage in the AI transcription pipeline, including VAD, ASR, diarization, post-processing, and export.