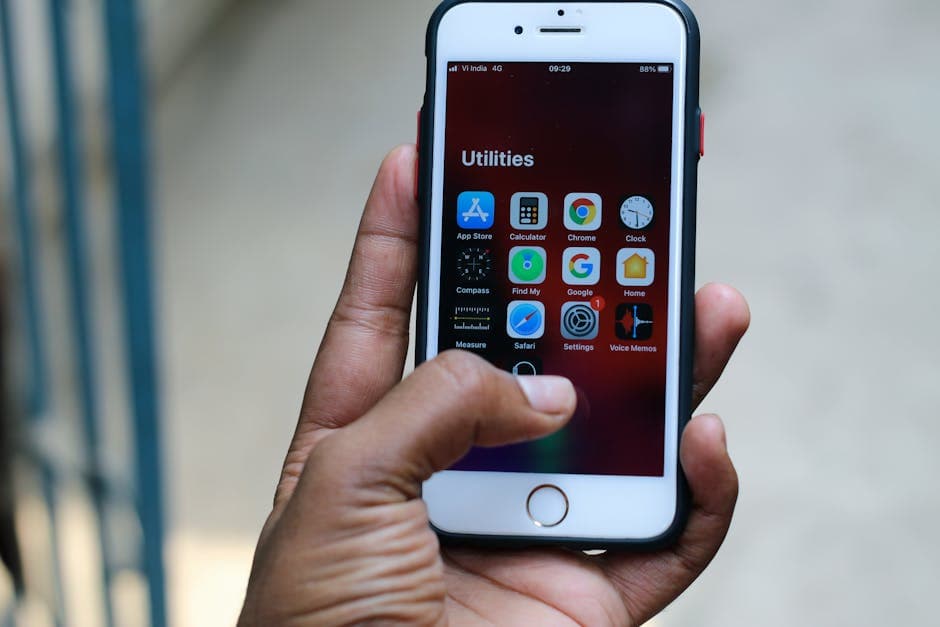
How to Transcribe an iPhone Voice Memo (iOS 26 Guide)
Summarize this article with:
On a current iPhone, open Voice Memos and tap the transcript icon: transcription is built in, free, and on-device. Export the M4A (share sheet, AirDrop, or iCloud to a Mac) and upload it to a transcription tool only when you need what the built-in path lacks: speaker labels, timestamps, and exportable formats like SRT or DOCX. Both paths take under a minute to start.
Two Ways, One Minute
The fastest way to get a transcript from an iPhone Voice Memo is to tap the transcript icon directly inside the Voice Memos app. If you need a formatted, exportable transcript with speaker labels or timestamps, export the M4A file and upload it to a transcription tool. Both paths take under a minute to start; the difference is in what you get at the end.
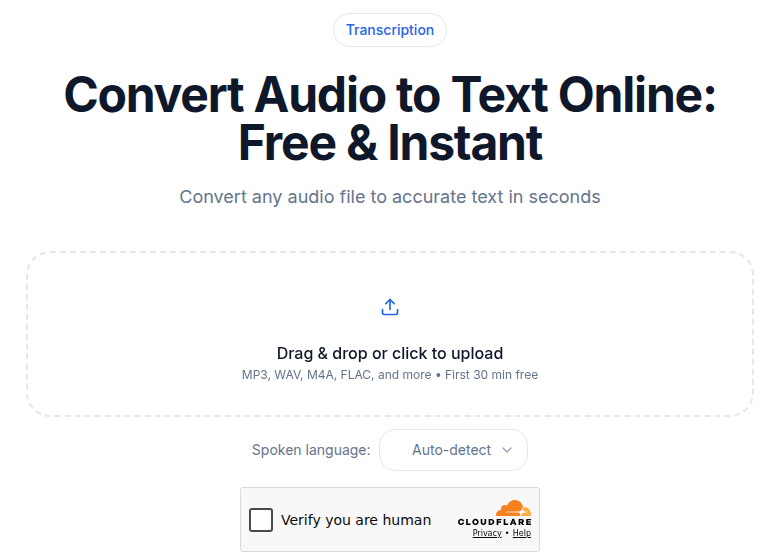 Export the Voice Memo and drop it into the uploader
Path 1: The iOS Built-In Transcript
Apple added native transcription to Voice Memos in iOS 18, and iOS 26 runs it on a faster on-device engine called SpeechAnalyzer.
Steps:
- Open the Voice Memos app.
- Tap the recording you want to transcribe.
- Tap the transcript icon (the lines-with-a-waveform symbol) below the waveform.
- Voice Memos generates the transcript on-device. For a 5-minute memo, expect 10-20 seconds.
- To grab the text, tap Copy Transcript or select a portion and tap Copy.
You can also search your entire Voice Memos library by text. Any recording with a matching word in its transcript surfaces in the search results.
What the built-in transcript does well
- Completely offline and private. Audio never leaves your iPhone.
- Fast enough for a quick copy-paste into Notes or a message.
- Retroactive: recordings made before iOS 18 get transcribed automatically when you open them.
Its real limits
- Copy-paste only. There is no export to SRT, TXT, DOCX, or any other file format. When you paste, all line breaks collapse into a single paragraph.
- No speaker labels. A two-person interview produces one undifferentiated block of text.
- No timestamps in the pasted output.
- Language coverage is narrower than you might expect. According to Apple's support documentation, the Voice Memos transcript feature supports approximately 10 languages: English (multiple regional variants), Spanish, Portuguese, Italian, French, German, Japanese, Korean, Simplified Chinese, and Traditional Chinese. Device minimum is iPhone 12 or later.
- Availability varies by country. Apple notes the feature is not available in all regions.
My take: for personal memos where you just need a rough text capture, the built-in transcript is genuinely useful. The moment you need to share a formatted transcript, feed text into another tool, or identify who said what, you need the second path.
Path 2: Export the File and Upload
Voice Memos saves recordings as M4A files (AAC audio inside an MP4 container, variable bitrate, roughly 30 MB per hour at default settings). Every transcription service accepts M4A without conversion. Here is how to get the file out.
Option A: Share directly from the app
- Open the Voice Memo and tap the three-dot menu.
- Tap Share.
- Choose Save to Files and pick a location (iCloud Drive or On My iPhone).
- From Files, upload to a transcription tool in a browser or app.
If you prefer fewer steps: tap Share and look for the transcription tool directly in the share sheet if its app is installed.
Option B: AirDrop to a Mac or iPad
- Open the Voice Memo, tap the three-dot menu, tap Share.
- Tap AirDrop and select your Mac or iPad.
- Accept on the receiving device. The file lands in Downloads.
- Upload from there.
AirDrop is the right move when you are already sitting at a Mac and want to skip iCloud entirely.
Option C: iCloud sync to Mac
If Voice Memos sync via iCloud is turned on (Settings > Your Name > iCloud > Voice Memos), every recording appears automatically in the Voice Memos app on your Mac. From there, drag the recording to your Desktop and upload. This is the cleanest path for batch work where you want to process several memos in one sitting.
For Windows users, iCloud for Windows syncs Voice Memos to a local folder on your PC. Same upload workflow from there.
What you gain with the upload path
- Formatted output: TXT, SRT, DOCX depending on the tool.
- Speaker diarization: separate labels per speaker, which matters for recorded interviews and in-person meetings. See how speaker diarization works for a deeper look.
- Timestamps: word-level or segment-level depending on the engine.
- Language breadth: modern ASR engines handle many more languages than Apple's consumer app.
- Longer recordings without friction: a 90-minute lecture memo is clunky to share via the iOS share sheet but trivial to pull from iCloud on a Mac.
If you just need a clean transcript without any extra tooling, ConvertAudioToText accepts M4A files directly and returns a timestamped transcript you can download.
For a broader comparison of tools built specifically for this use case, the convert voice memos to text guide covers the options in detail.
A Note on Audio Quality
The built-in iPhone microphone records surprisingly clean audio for speech. A memo recorded indoors with the phone 6-12 inches from the speaker typically transcribes at high accuracy. The factors that hurt it:
- Pocket recording: cloth over the mic drops accuracy noticeably.
- Distance: a phone on the far end of a table picks up the room as much as the speaker.
- Background noise: cafes, traffic, and kitchens all add errors.
- Wind outdoors: without a windshield, outdoor recordings can lose significant accuracy.
For casual thought capture, the default mic is fine. For interview or lecture recordings where accuracy matters, an external Lightning or USB-C microphone makes a meaningful difference. The post on transcription accuracy explained covers what affects results in more detail.
Common Use Cases
Thought capture while moving. Record ideas walking or driving, then upload the memo to get structured text you can paste into a doc or email. The gap in the built-in path is that you get one paragraph; the upload path returns something you can actually work with.
In-person meeting backup. A phone on the table recording a meeting. For meetings under 60 minutes, this works well. The upload-and-transcribe path gives you speaker-labeled notes, which the native path cannot.
Lecture recording. Students recording lectures on iPhone. The how to transcribe a lecture post covers lecture-specific tips including microphone placement.
Research interviews. Reporters and researchers recording in-person or phone interviews. Speaker diarization from the upload path is especially valuable here. See how to transcribe an interview recording for the full workflow.
Voice journaling. Daily audio journals transcribed for a written, searchable archive. The audio stays as the verbatim record; the transcript becomes the index.
Editing the Transcript
Voice Memo transcripts, whether from Apple's built-in feature or an external tool, usually need a light pass:
- Proper nouns: names, places, brands often need correction.
- Numbers: spoken dates, dollar amounts, and figures often transcribe inconsistently.
- Run-on sentences: natural speech rarely pauses for punctuation.
A 5-minute edit on a 10-minute memo is typical. For longer recordings, plan roughly 15 minutes of editing per hour of audio.
FAQ
Does iOS 26 support Voice Memo transcription in my language?
Apple's Voice Memos transcript feature supports approximately 10 languages in the consumer app: English (multiple regional variants), Spanish, Portuguese, Italian, French, German, Japanese, Korean, Simplified Chinese, and Traditional Chinese. Availability also depends on your country or region. If your language is not in that list, the export-and-upload path with an external transcription tool is your best option.
Can I export a Voice Memo transcript as a file from the iPhone app?
No. As of iOS 26, the only export method for the built-in Voice Memos transcript is copy-paste. There is no native export to TXT, SRT, DOCX, or any other file format, and pasted text loses all line breaks. For file-based export, you need to export the audio file and use an external transcription service.
What file format does an iPhone Voice Memo save as?
Voice Memos saves recordings as M4A files, specifically AAC audio inside an MP4 container. The default setting uses variable bitrate encoding, producing roughly 30 MB per hour of audio. All major transcription tools accept M4A natively. No conversion is needed before uploading.
Which method gives better accuracy: the built-in iOS transcript or an external tool?
Both use modern on-device or cloud-based ASR models, and for English the results are close. The bigger practical difference is output quality, not raw accuracy: external tools return speaker labels, timestamps, and downloadable files, which the built-in transcript does not. For non-English languages, external tools with broader language support often produce better results than Apple's app-level feature.
Sources
- Apple Support, "View a Voice Memos transcription on iPhone": https://support.apple.com/guide/iphone/view-a-transcription-iph00953a982/ios
- Apple Support, "Share a recording in Voice Memos on iPhone": https://support.apple.com/guide/iphone/share-a-recording-iph3d6dc359/ios
- Apple Support, "About iOS 26 Updates": https://support.apple.com/en-us/123075
- Apple Developer, SpeechAnalyzer documentation: https://developer.apple.com/documentation/speech/speechanalyzer
- MacRumors, "Apple's New Transcription APIs Blow Past Whisper in Speed Tests": https://www.macrumors.com/2025/06/18/apple-transcription-api-faster-than-whisper/
- Anton Gubarenko, "iOS 26: SpeechAnalyzer Guide": https://antongubarenko.substack.com/p/ios-26-speechanalyzer-guide
- Apple Community, "How do you export Voice Memo transcriptions": https://discussions.apple.com/thread/256100508
Try transcription free
Convert any audio or video to clean, unwatermarked text — speaker labels, timestamps, and AI summaries included. First 30 minutes free, no account.
Related Articles
How to Record and Transcribe Audio on iPhone in 2026
Step-by-step guide to recording with iPhone Voice Memos, getting clean transcripts, iOS 26 built-in features, call recording, and the best apps for professional results.
Spotify Transcript Extractor: How to Copy and Download Episode Text
Get a Spotify podcast transcript you can copy and download: paste a public episode link, 30 minutes free with no signup, TXT or SRT files on eligible plans.